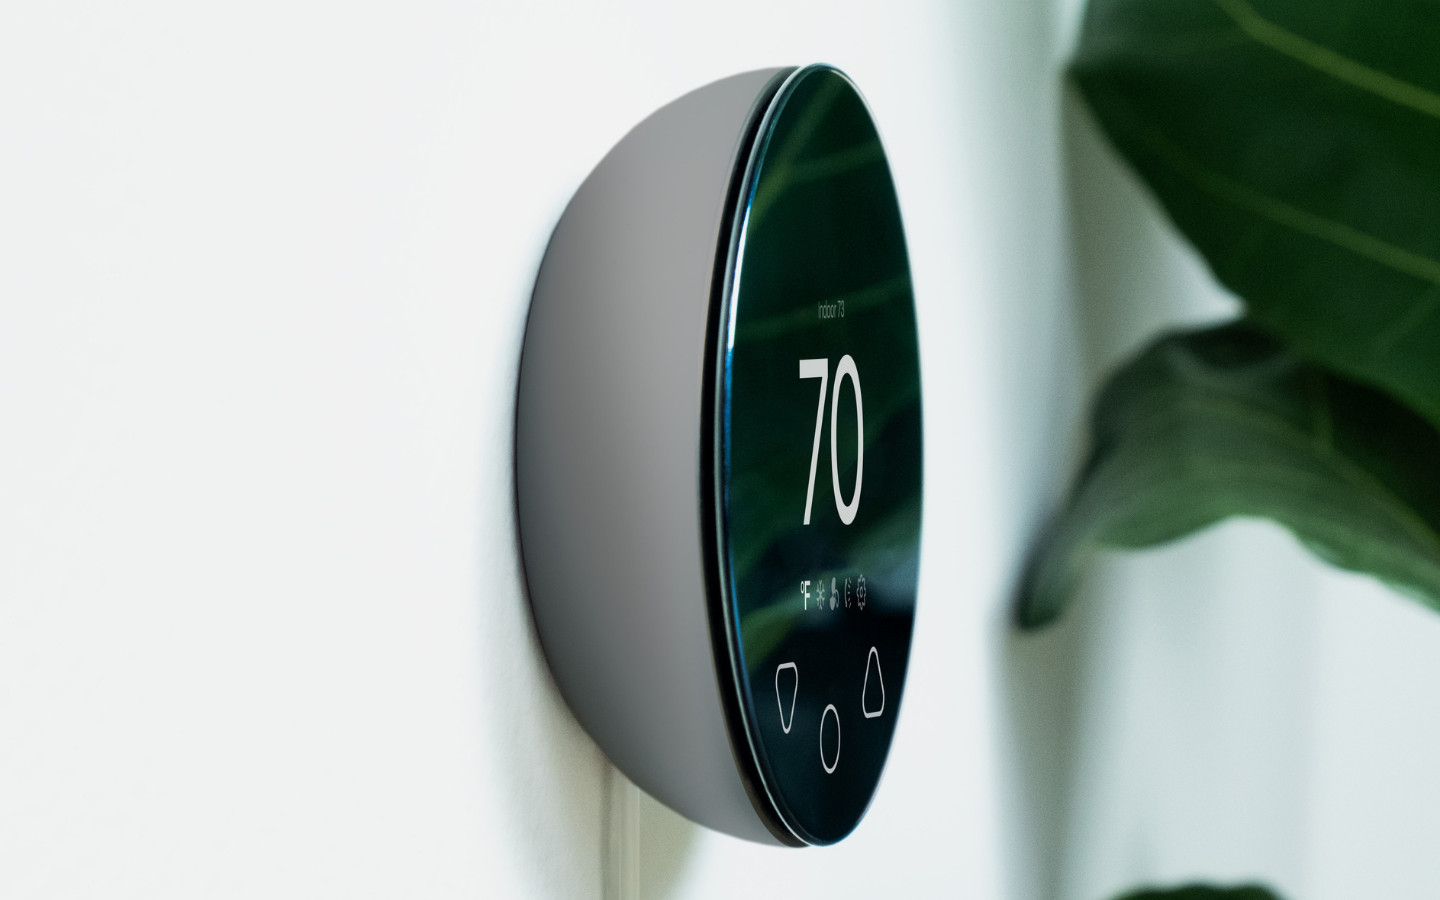
In this article, we cover the different ways to power Klima and the benefits they offer.
Plug-and Play Convenience
Klima offers a plug and play option, offering convenience. Klima comes with a thin transparent cable, which allows you to connect Klima to any available power source. This option provides the flexibility to position Klima anywhere within the 1.25m / 4ft range of a power outlet.
The Klima Dock
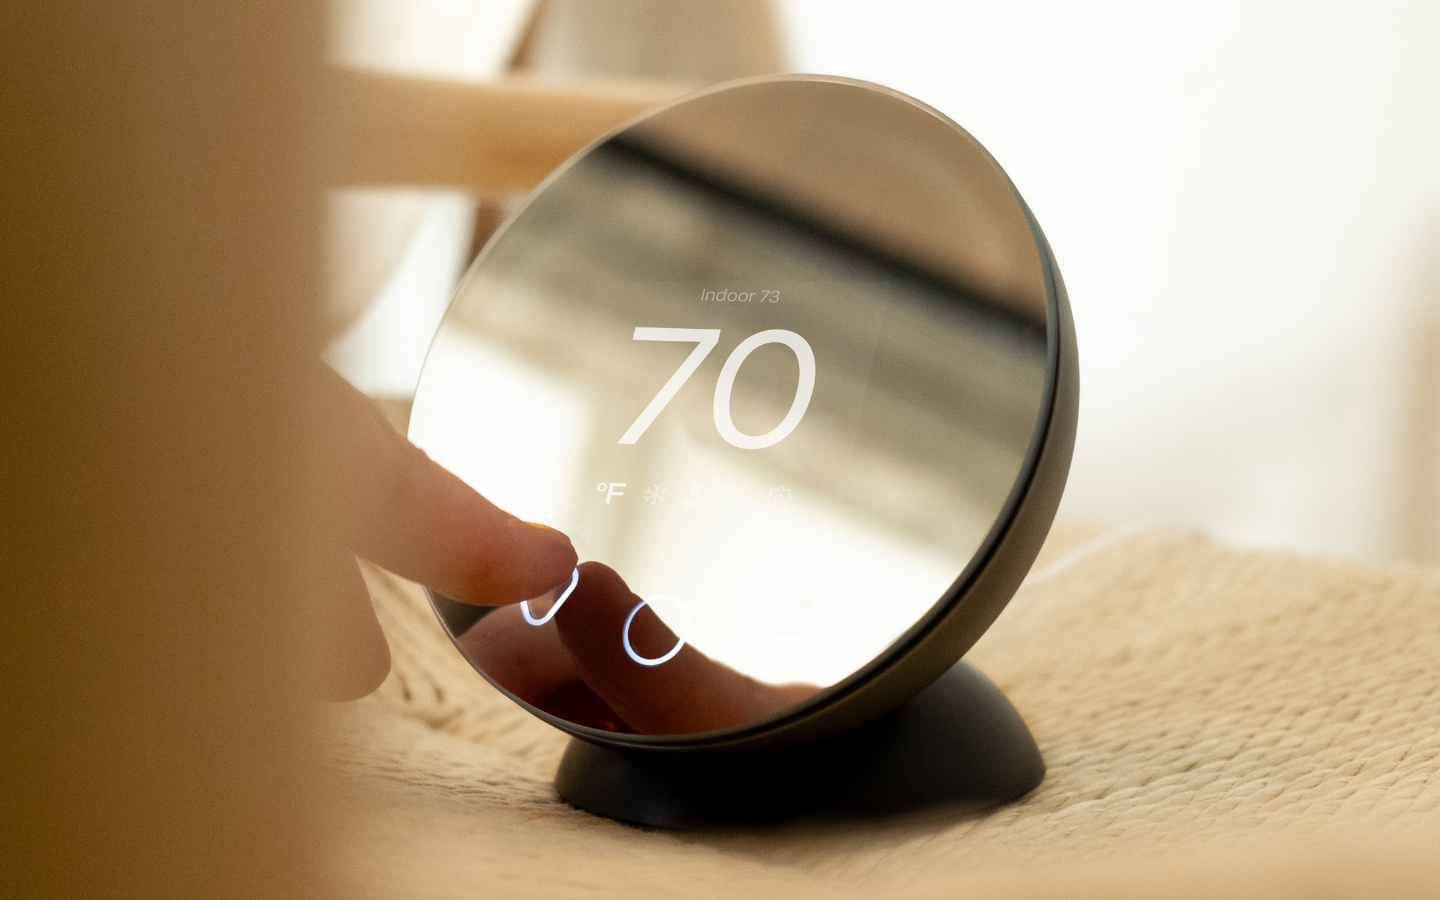
Another way to power your Klima is with the Klima Dock.
This optional accessory acts as a stand for the device, providing both a secure base and a convenient power source.
By placing Klima on it's dock, also anywhere within the 1.25m / 4ft range of a power outlet, homeowners can enjoy the flexibility of relocating the device while ensuring it remains powered and connected.
Hardwiring The Boldr Smart Thermostat
This manual provides instructions for installing the ProMount wired wall mount. Please read all instructions carefully before installation.
1. Choose a Location
- Select a suitable location on the wall for your mount. Ensure the area is clear of any obstructions and electrical wiring.
- Ensure that the location has a clear line of sight to the mini-split head.
2. Drill a hole for the ProMount
- Use a 2-3/8” (60mm) Bi-Metal Hole Saw to drill the hole
- Hold your Power Drill at an even 90 degree angle
3. Wire the Step Down Transformer
- Find a suitable location to install the Step Down Transformer.
- Follow the set up Instructions of the chosen Step Down Transformer (110v to 24v - 40AV). Wire the 110/220v to 24v (40AV).
4. Run 24v Wire through the drill hole
5. Attach wires to the Mount
- Connect the 24V wire to the 24VAC input on the wall-mount connector.
- Pull the Clamp Fasteners down to lock the wire in place.
- Double-check that the wires are tightly fastened and not exposed.
Note: Polarity is not important for the 24VAC connection.
Note: Neatly position the wires to avoid obstruction during thermostat installation.
6. Test the Connection
- Turn on power at the breaker to test the connection.
- Place the Boldr Pro Smart Controller on the mount and ensure it powers on.
- If the device is powered on, remove it and proceed with install. If the device does not power on, check the wiring.
7. Secure with Screws
- Place the ProMount into the hole & use the built in level to ensure it is straight
- Use a screwdriver to tighten the mounting screws, securing the wall mount to the wall. Ensure the mount is firmly attached.
8. Test the Mount
- Gently test the stability of the mount to ensure it is securely fastened to the wall.
9. Place the Boldr Smart Controller on the ProMount
Important Safety Precautions
- Always turn off power at the breaker box before working with electrical wiring.
- Always follow state and local electrical wiring codes
-
Exercise caution when drilling and handling tools.